Are you taking advantage of all of the great Fall produce at the markets right now? This is a great time to experiment with different squashes and varieties of apples. We are going to pick apples this weekend, and I am excited to try out some new recipes and some old favorites…crockpot apple butter and Butternut Squash Apple Curry Soup.
Looking around the grocery store while shopping this week, I realized I had not bought any pears yet this Fall. Did you know that this seemingly simple fruit is full of amazing health benefits?!! For starters, pears are one of the highest fiber containing fruits, contributing about 6 grams in each medium-sized pear towards our daily goal of 25 to 30 grams. This helps to keep your digestive system working properly, lower levels of bad cholesterol, and reduce the risk of stroke. Pears are naturally high in vitamins C and K, as well as nutrients such as copper—all of which act as antioxidants to protect our cells from damage from free radicals. The wonderful combination of fiber and antioxidants in pears helps to prevent many different types of cancers. Some other unique health benefits:
- Pears contain boron, which our bodies need in order to retain calcium, so this fruit can also be linked to prevention of osteoporosis.
- The hydroxycinnamic acid found in pears is also associated with preventing stomach and lung cancer.
- Quercetin is another antioxidant found in the skin of pears. It helps prevent cancer and artery damage that can lead to heart problems, and a recent study at Cornell University found it may also protect against Alzheimer’s disease.
I honestly had no idea that pears were so healthy since I am always emphasizing the fruits and veggies with deep dark colors like berries and leafy greens. I will definitely be adding pears into the mix more often!
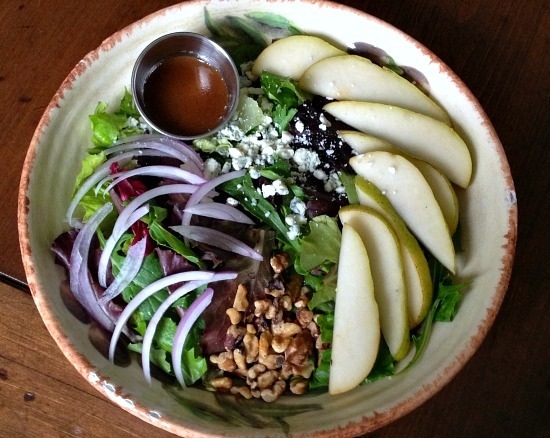
This salad is one of my absolute favorite Fall salads and it just so happens to feature pears. We had it for dinner last night with roast beef and veggies. It was so good that I had it again for lunch today! I have also served this with our Thanksgiving dinner in the past.
Start with a base of red romaine or spring mix (I used a combination of both). Layer on some lightly toasted walnuts, thin strips of red onion, and some crumbled blue cheese. Top with the thinly sliced pears just before serving so that they don’t brown.
Top it off with this sweet and spicy maple dressing that complements the salad perfectly!
Sweet and Spicy Maple Vinaigrette
Ingredients
2 T 100% pure maple syrup
2 tsp. Dijon mustard
1 T. red wine vinegar
1 T. balsamic vinegar
1/2 tsp sea salt
1/4 tsp freshly ground black pepper
4 T. extra virgin olive oil
Directions
Mix all ingredients in a sealed glass jar and shake vigorously. Store leftover dressing in the refrigerator. This amount of dressing is enough for a very large family-sized salad or to make multiple smaller salads throughout the week.
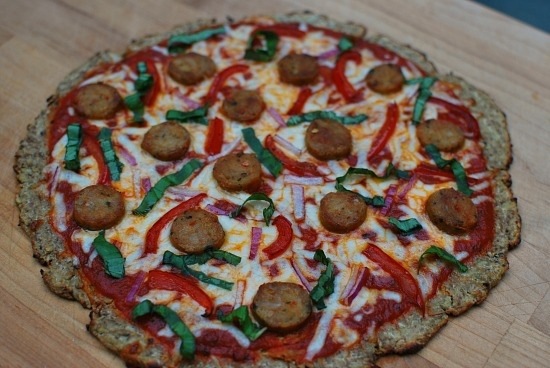
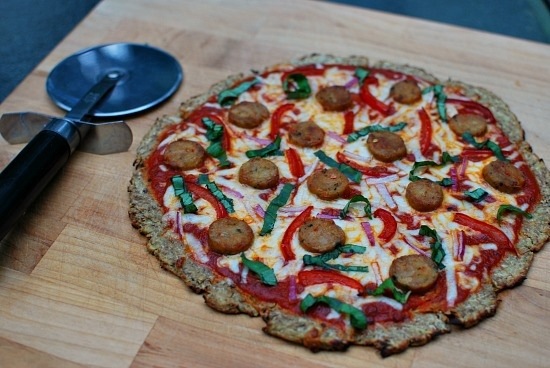
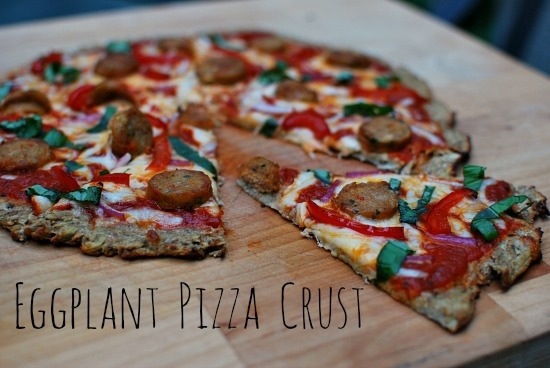
So after a couple of “Thursday Night Pizza Nights” this crust has officially been deemed blogworthy!!!!
If you are new to the blog, we have a family tradition (for the past 6? 7? years) to make pizza every Thursday night. I almost always make homemade whole wheat crust, unless we are in a huge time crunch. Then I will occasionally buy the store-bought 100% whole wheat organic crusts.
Our homemade crust is very good and we all love it. It’s especially great when you throw it on the grill! But I am always on the lookout for something a little lighter and more nutritious since we eat it every week. I have used everything from an Ezekiel clean-ingrediet pocket bread to these Millet and Flax Lavash flatbreads. I have also tried cauliflower crusts, just out of curiosity, since they seem to be crazy popular around the blog and Pinterest world. But, honestly, I just didn’t dig them.
Then I ran across a photo of an Eggplant crust and decided to give it a try. WOW! Instant obsession!!!!
To be honest, they are a little work. But you can make a bunch at one time and freeze them. I promise the taste is amazing!!!! Don’t expect it to be a “bread-y” replica of doughy pizza crust. It is a different texture. But still a healthy, tasty way to enjoy pizza!!
If you give this a try, please let me know what you think!!! I would love to hear if you like it as much as me 🙂
Eggplant Pizza Crust (paleo, grain-free, gluten-free, dairy-free)
Ingredients
1 whole eggplant
1/4 cup almond meal or almond flour
2 T. coconut flour
2 T. ground flax, flaxmeal, or ground chia seeds
1 egg
1 tsp. Italian seasoning
1/2 tsp. sea salt
1/2 tsp. garlic powder
Olive Oil or Parchment Paper (this crust is sticky!!!!)
Directions
Preheat oven to 375 degrees.
Peel the eggplant. This may be easier if you slice the eggplant into a couple of big chunks. Then grate the eggplant with a cheese grater – be prepared to get your arm workout for the day!!! 🙂
Put the pile of shredded eggplant into a couple of paper towels or cheesecloth, if you have it, and wring out all of the excess moisture. Do NOT skip this step!
Place eggplant and other ingredients into a bowl and mix well.
Grease a pan very well with olive oil or lay down a sheet of parchment paper.
Place the pizza “dough” onto the pan and shape into a thin round crust.
Bake for 20 minutes.
Flip over and bake for an additional 20 minutes.
At this point, you can freeze the crust. Or top with desired toppings and bake for an additional 10-15 minutes. Broil, if necessary, to get the cheese slightly browned and bubbly.
**Notes – I doubled this recipe and made it into 3 personal-pizza sized crusts since I’m the only one that eats these. Darren gave them the thumbs up approval, but he prefers his regular pizza 🙂
Happy Wednesday!
This is the day that I usually try to do a “What I Ate Wednesday” post to show everything that I ate during the course of the day.
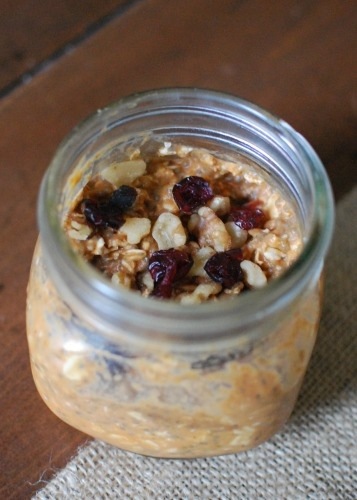
This morning, I was really excited to have breakfast waiting for me in the fridge – overnight oats are the best for busy mornings!
Last night, I mixed up:
- 1/2 cup of oats
- 1/2 cup unsweetened almond milk
- 1/3 cup canned pumpkin
- 1 (heaping) T. chia seeds
- 1 T. pure maple syrup
- 1 tsp. pumpkin pie spice
This morning, I topped it with some chopped walnuts and dried cranberries. You can always throw it in the microwave for a few seconds to take the chill off if cold oats aren’t your thing.
I spent the morning getting things done around the house and then got to head out and paddle with a friend. Another gorgeous Fall day here! I love paddleboarding because it gives me the chance to be outdoors, socialize with friends, and get my workout in all at the same time!
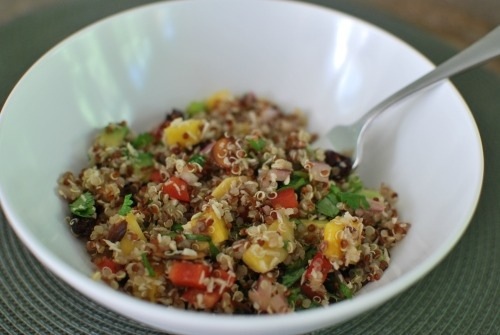
We paddled for over an hour and I was starving when I got home! Lunch was some of the leftover California Quinoa Salad from yesterday. I am loving this stuff!!! I promise you that it is worth the effort to chop all of the ingredients to make this salad. Good stuff!!!!
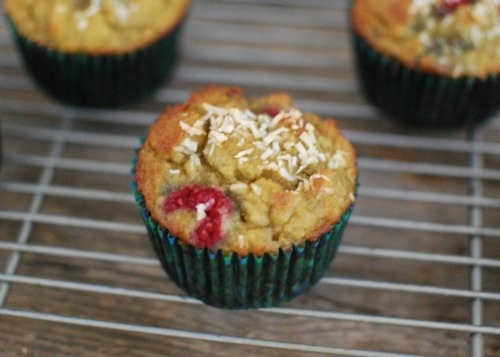
I was pretty busy the rest of the afternoon and needed a snack after running some errands. This is my second batch of these grain-free raspberry coconut muffins that I have made in the last two weeks. I bought some coconut flour awhile back and have been wanting to experiment with it, so I tried these muffins (and a new pizza crust recipe to come!). I was really impressed with the texture of them. And they have a great nutritional profile – 150 calories, 7 grams of (healthy) fat, 5 grams of fiber, and 5 grams of protein!! They have become my afternoon snack staple!
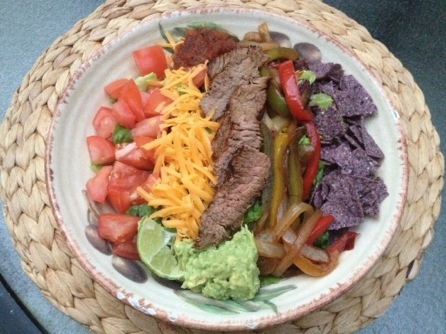
For dinner, we grilled up a marinated steak and made fajitas. I turned mine into a Steak Fajita Salad topped with guacamole and my favorite Trader Joe’s Garlic Chipotle Salsa.
That’s it for today. Have a great night!
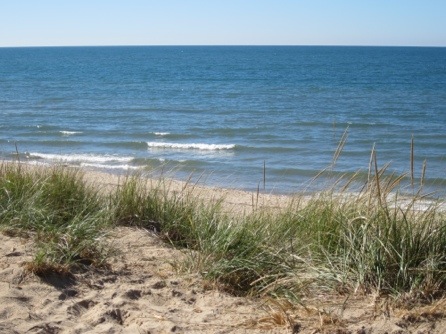
This past Spring Break, we took a family trip out to California….and pretty much fell in love with it. We especially loved Southern California! Luckily, being in the Stand Up Paddleboard business, we have a lot of opportunities to travel out there. Actually, Darren just spent a week in Laguna Beach and Coronado for some meetings, networking, and a race. I loved seeing all of the pictures, but was kind of bummed that I didn’t get to make the trip with him this time. I shouldn’t complain too much since we have some pretty awesome beaches and trails near us. Whenever I need my “beach fix” I just head across the street to this….
Today was the perfect day for a jog on the trails –
running the stairs-
and a cool down walk on the beach –
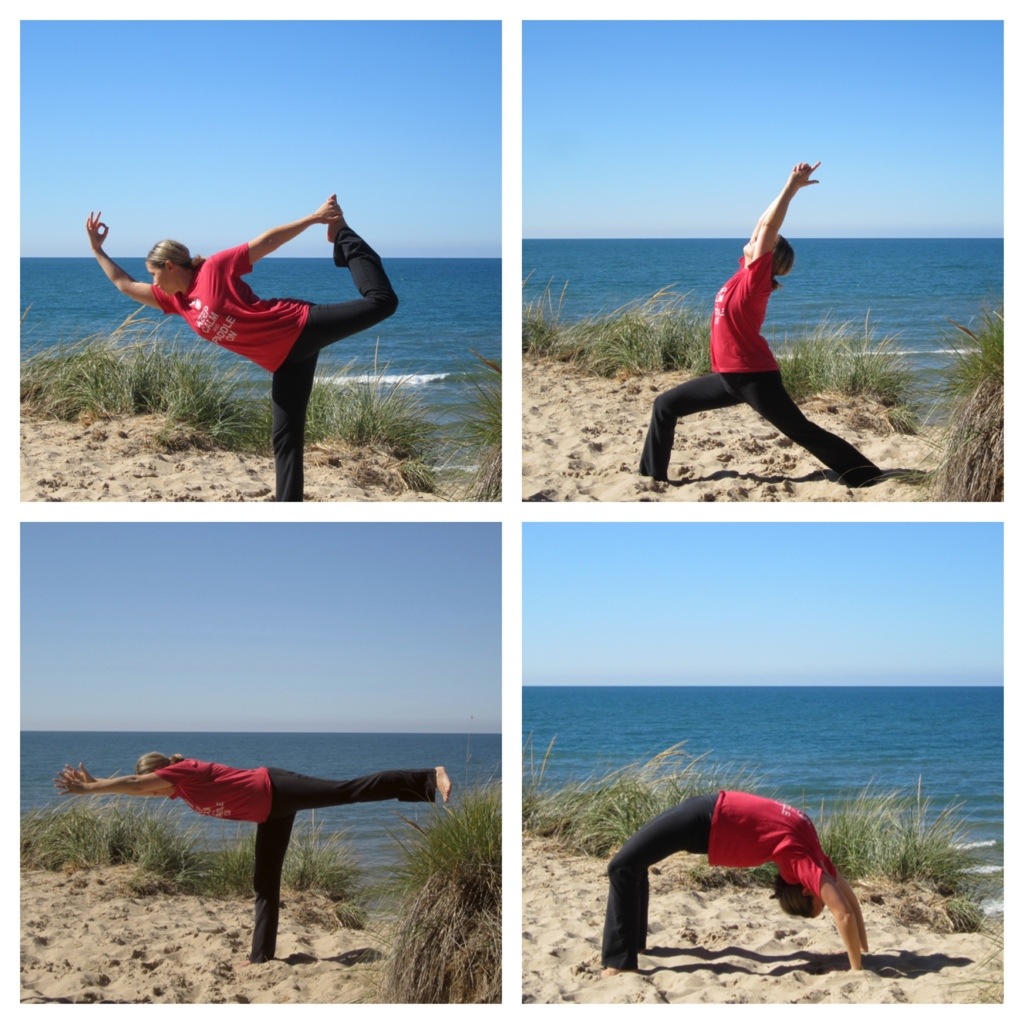
Ending with a few yoga poses since I missed my usual class this morning.
I was definitely ready for lunch by the time I got home! It only seemed fitting to make this quinoa salad inspired by the flavors of California. My fellow SUP and yoga-loving friend made this for me this summer and I completely forgot about it until just recently.
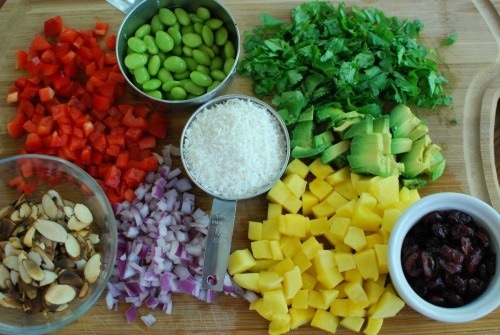
It’s a lot of chopping…..
But I promise it’s worth it!
California Quinoa Salad
Ingredients (amounts are estimates, use more or less based on your taste preference!)
1 cup quinoa (red, white or a mix)
1 ripe mango, diced
1/4 large red onion, finely chopped
1/2 red pepper, chopped
1/2 cup pre-steamed or frozen edamame (shelled)
1/2 cup sliced or slivered almonds, toasted
1/2 avocado, diced
1/2 cup dried cranberries, cherries, or raisins
1/2 cup shredded, unsweetened coconut
handful of cilantro, chopped
2 T. balsamic vinegar (she suggests fig vinegar if you have it, but I used balsamic)
juice of 1/2 of a lime
1 T. olive oil
Directions
Rinse quinoa and cook according to package. I usually bring mine to a low boil (covered) for about 15 minutes and then let it sit covered off the heat for another 10 minutes. Place in a dish to cool in the refrigerator for a few hours.
Chop all veggies and toast almonds if necessary.
Mix balsamic, lime juice, and olive oil.
Combine cooled quinoa with all of the other ingredients and toss with dressing. Season with a little sea salt and fresh ground pepper.
What a day! Super busy morning and a dead phone battery meant no What I Ate Wednesday pics 🙁
Luckily, there was a little time this afternoon for this…..
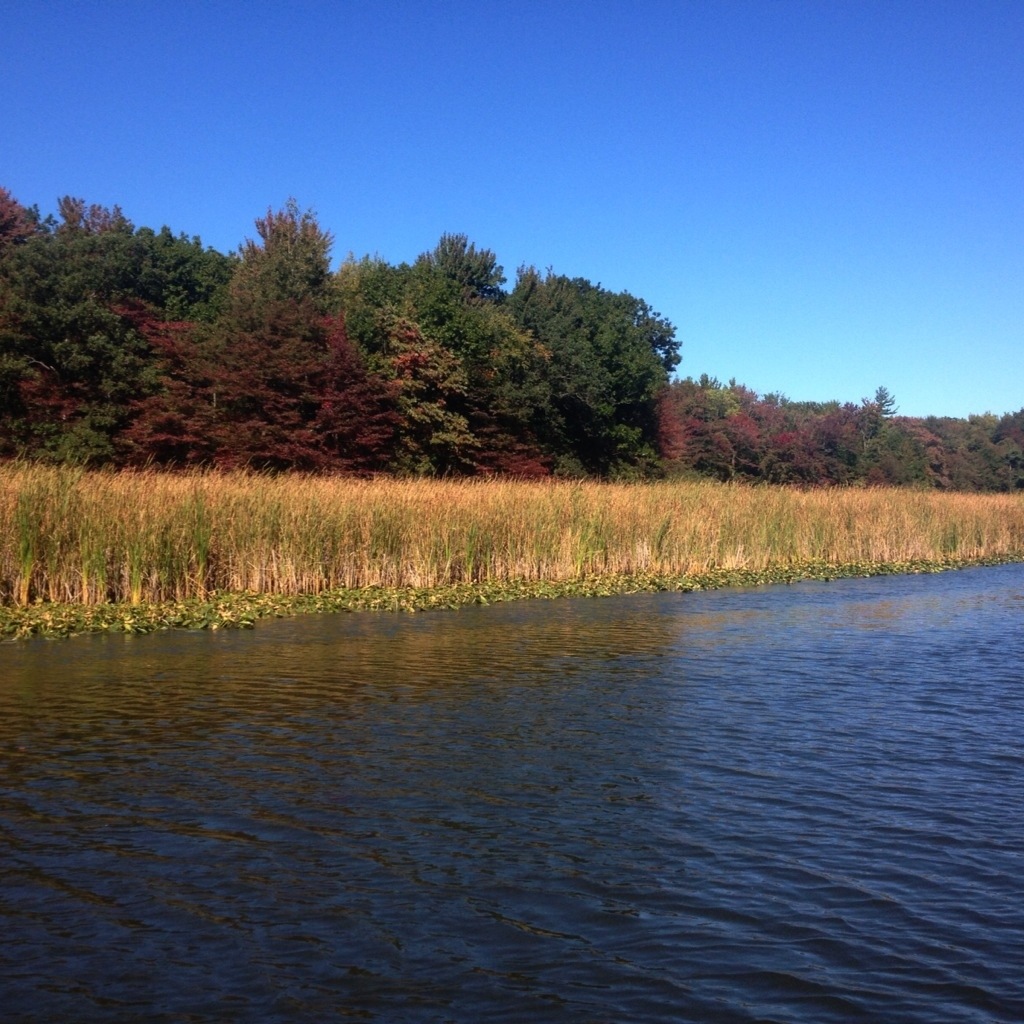
Seriously gorgeous Fall day! I couldn’t pass it up!
With Michigan weather, any day could be our last day out on the water, so we had to take advantage of it.
Luckily, I didn’t have to worry about dinner since it was already prepped. I threw a jar of my mom’s canned summer tomatoes into the Crockpot with a few fresh veggies and dried herbs and made my first homemade marinara sauce. Have you ever tried this? I had no idea it was so easy! And it made the house smell amazing! It was kind of an experiment so I don’t have an exact recipe yet.
I do have an awesome recipe for the meatballs that went with it though!
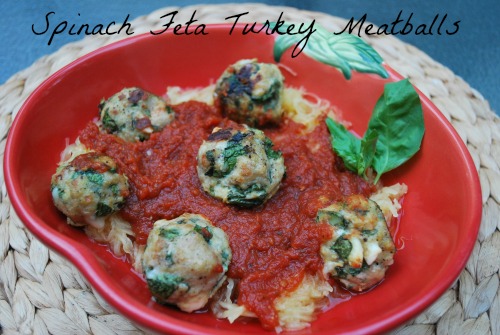
I actually made these on Sunday. I used the spinach feta turkey mixture to make a burger and just rolled the rest into meatballs and baked them. They are easy and come together really fast. And they are out of this world good! I served the meatballs and marinara over a bed of spaghetti squash that was roasted earlier in the day.
Spinach Feta Turkey Meatballs (or burger)
Ingredients
1 lb of lean ground turkey (see if you have the option of some local ground turkey or organic since the regular grocery store stuff contains extra flavoring additives)
Spinach (a big handful or two of fresh or you can use about 1/2 a bag of frozen spinach, defrosted, water squeezed out)
1/2 cup crumbled feta
1 egg, beaten
Salt and Pepper
Directions
If making meatballs, preheat your oven to 350 degrees. Heat a skillet to medium heat. Chop spinach finely if using fresh. Mix all ingredients together in a bowl and season with freshly ground salt and pepper. Form into patties or meatballs. To make burgers, cook patties over medium heat for about 6 minutes on each side. For meatballs, sear in the skillet to brown the meatballs and transfer to a baking sheet. Bake for 20 minutes.
Hey there!
Now that the kids are back in school, I have been hitting the books hard! When I need a study break, I either workout or get into the kitchen to try out a new recipe. I have so many awesome new recipes to share and just need to take the time to get them up here.
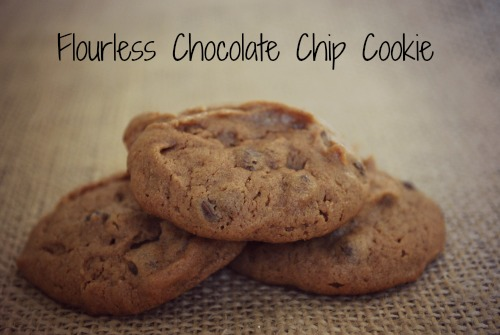
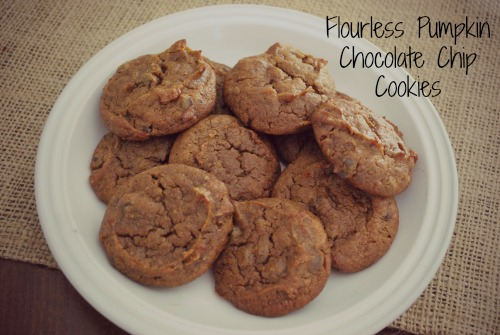
I debated what to call these……flourless, grain-free, gluten-free, clean-eating, paleo…… they fit into all of those categories!
My youngest, Jake, has been coming home from Kindergarten with all kinds of new lunch requests. I try to keep a low-key, balanced approach to food with my kids. After reading the book Nourishing Wisdom for my “Personal Relationship with Food” class, I have realized we should not label foods as “good” or “bad” since really, food is neutral. It is our personal judgement of a food, or how it makes us feel, that is good/positive or bad/negative. Labeling a food as “bad” sets us up for cravings, binges, and negative feelings. It is my hope that if I feed my kids enough healthy “real” food, balanced with an occasional treat here and there, that they will eventually make their own conscious decision of how certain foods make them feel and whether or not they choose to eat them.
Consequently, I feel the same way about the gluten-free craze. I may change my mind on this one over the course of my studies at NTI, but for now, I don’t think we should vilify wheat, gluten, or all grains unless there is a justified medical reason to do so. We can experiment to see how these foods make us feel and make that decision on our own. I know that wheat is a common allergen for many people and that a lot of us consume far too much of it, so I have been experimenting with a few more gluten or grain-free recipes for people that may require them.
Back to the cookies….basically the kid wants dessert every day at lunch like his friends! So what’s a kitchen-happy mom to do but get to work creating a quick, easy, cookie with healthy whole food ingredients sure to please the kid in all of us!
I have a few different variations on this recipe. The original – mmm, good. Or the it’s-Fall-time-to-make-pumpkin-everything version – mmm, super good! Maybe more of an adult flavor though.
Give these a try and let me know what you think!
Flourless Chocolate Chip Cookies
adapted from myrecipes.com
Ingredients
1 cup natural nut butter (PB is great – more kid-friendly flavor, almond butter works too-more health benefits)
1/3 cup pure maple syrup OR honey
1 egg
1/2 tsp baking soda
1/2 tsp sea salt
scant 1/3 cup mini chocolate chips (I have been buying soy free, dairy free by Enjoy Life)
Directions
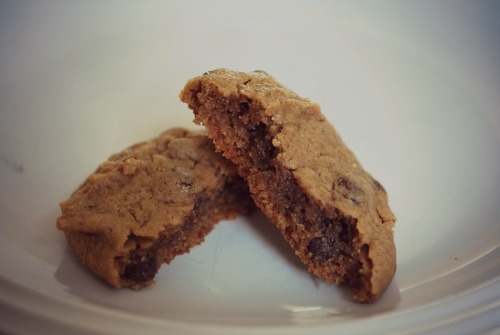
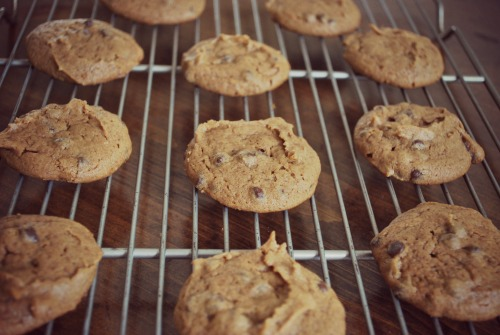
Preheat oven to 350 degrees. Mix all ingredients together. Use a spoon or small ice cream scoop and place on a pan lined with Silpat or Parchment Paper. Bake for 9-11 minutes. Cool on the pan for about 10 minutes, then transfer to a wire rack to cool completely. I like the cookies on the softer side, but need them to hold up in a lunchbox. They are still a very soft cookie so store in the refrigerator or freezer!!
Flourless Pumpkin Chocolate Chip Cookies
Ingredients
1 cup natural nut butter (same as above PB or almond butter)
1/3 cup pure maple syrup OR honey
1 egg
1/2 cup canned 100% pure pumpkin
1/2 tsp baking soda
1/2 tsp sea salt
1-1 1/2 tsp pumpkin pie spice
scant 1/3 cup mini chocolate chips (I have been buying soy free, dairy free by Enjoy Life)
Directions
Preheat oven to 350 degrees. Mix all ingredients together. Use a spoon or small ice cream scoop and place on a pan lined with Silpat or Parchment Paper. Bake for 15 minutes or to your liking. The pumpkin cookies need a little longer to bake than the original. Cool on the pan for 10 minutes, then move to a wire rack to cool completely. Store in the refrigerator or freezer as they are super soft.
NOTES
My kids definitely prefer the plain chocolate chip cookie recipe using peanut butter.
To make both types of cookies, start off making this recipe as the original chocolate chip, scoop out 12 cookies onto a pan, then add 1/4 cup pumpkin and 3/4 tsp. pumpkin pie spice to the remaining batter in the bowl. Then proceed with the next 12 cookies so that you have the best of both worlds!
They are definitely a super soft cookie compared to a store-bought cookie. They should be stored in the fridge or freezer and taste great straight from the freezer!
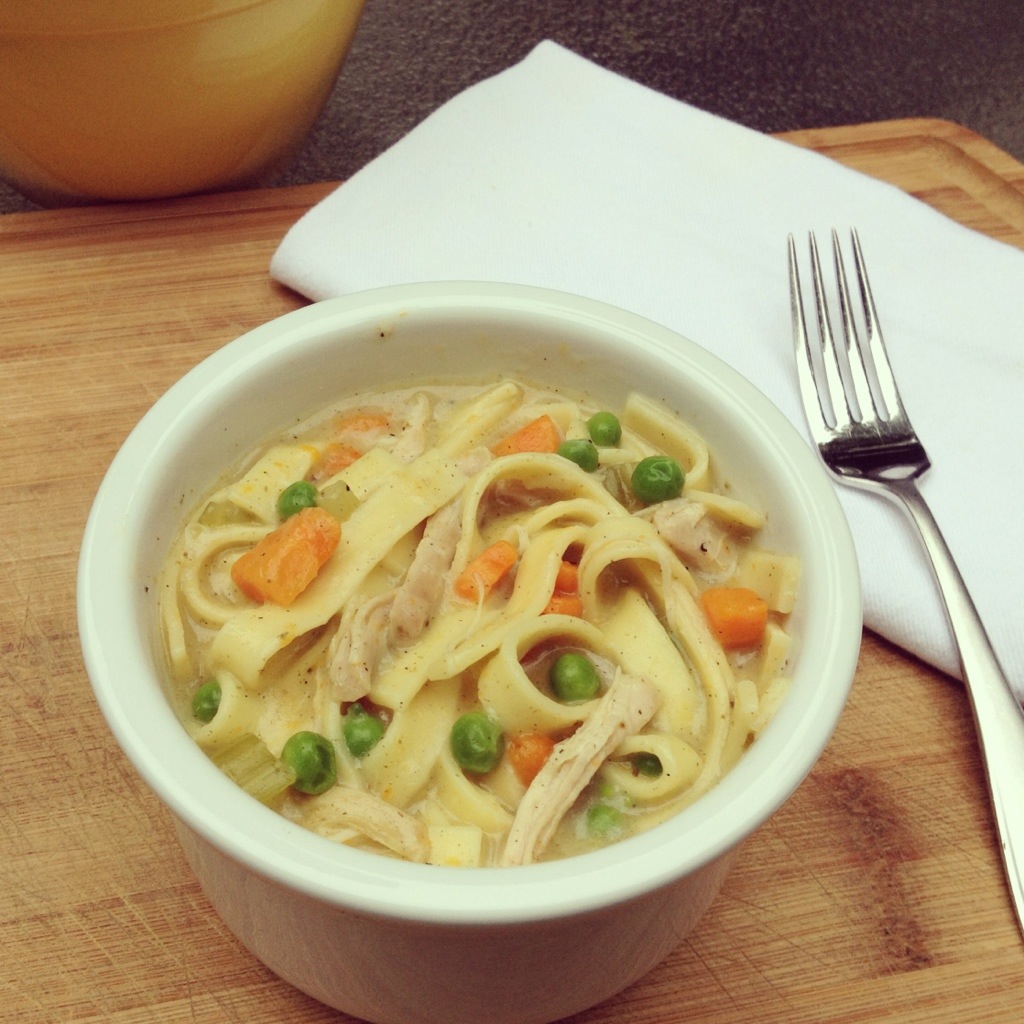
I am long overdue for a new post! Seeing as how we’ve entered a new season, my most favorite of all, I thought I would post the recipe for the meal that we had to celebrate the first day of Fall. It was just cool enough that I could pull off a one-dish comfort meal like this Chicken and Noodles!
Not only was it budget-friendly and super easy to make, but it was SO good too! I know that this is not cutting edge health food, but I have come to the conclusion that there is room in our diet for comforting, enjoyable meals like this. Of course there were plenty of variations running through my mind, like using spaghetti squash instead of noodles or buying the whole wheat flax fettuccine noodles so feel free to experiment with those options if that appeals to you. But it has been my goal lately to simplify and de-stress our family dinner time by making only one meal that everyone can enjoy. I have been encouraging the kids to choose what we will have for dinner and letting them help out in the kitchen more. This was definitely a kid-friendly dish and it makes a great leftover to send reheated in a thermos for lunch the next day. Enjoy… and Happy Fall!!!
Homestyle Chicken Noodles
inspired by Better Homes and Garden
Ingredients
Chicken Thighs (I just bought a package that had 5-6, bone-in would be great to for additional flavor)
3 cups water
2 cups chicken broth (one without msg, “natural flavor”, or yeast extract)
2 Bay leaves
1 tsp dried thyme (I had ground thyme which worked nicely)
Salt and pepper to taste ( I added close to 1 tsp. of sea salt and a few grinds of pepper)
1 medium onion, chopped
3 carrots, peeled and chopped
2 ribs of celery, chopped
Homestyle egg noodles (I used the thick fettuccine style noodles)
1 cup frozen peas
1 cup milk
2 T. flour
Directions
Add chicken pieces, chopped onion, carrot, and celery, herbs, water and broth to a large stockpot or Dutch oven. Bring to a boil and simmer covered for 25-30 minutes until chicken is done. Remove and discard bay leaves. Remove chicken and place on a cutting board to cool. Remove bones if necessary and shred or chop into bite-sized pieces and set aside.
Bring the broth mixture back up to a boil and add noodles. Cook according to package directions (mine were about 12-15 minutes). Stir in frozen peas. In a lidded container, combine milk and flour and shake until thoroughly mixed. Pour milk mixture into pot. Add chicken back in. Cook over low heat until thickened.
It’s late and I have to get on the road early in the morning to teach a big class. But since I already took all of the pictures, I thought I would try to get my “What I Ate Wednesday” up on the blog. I’ll try to make this one quick since that’s how my day went anyway 🙂
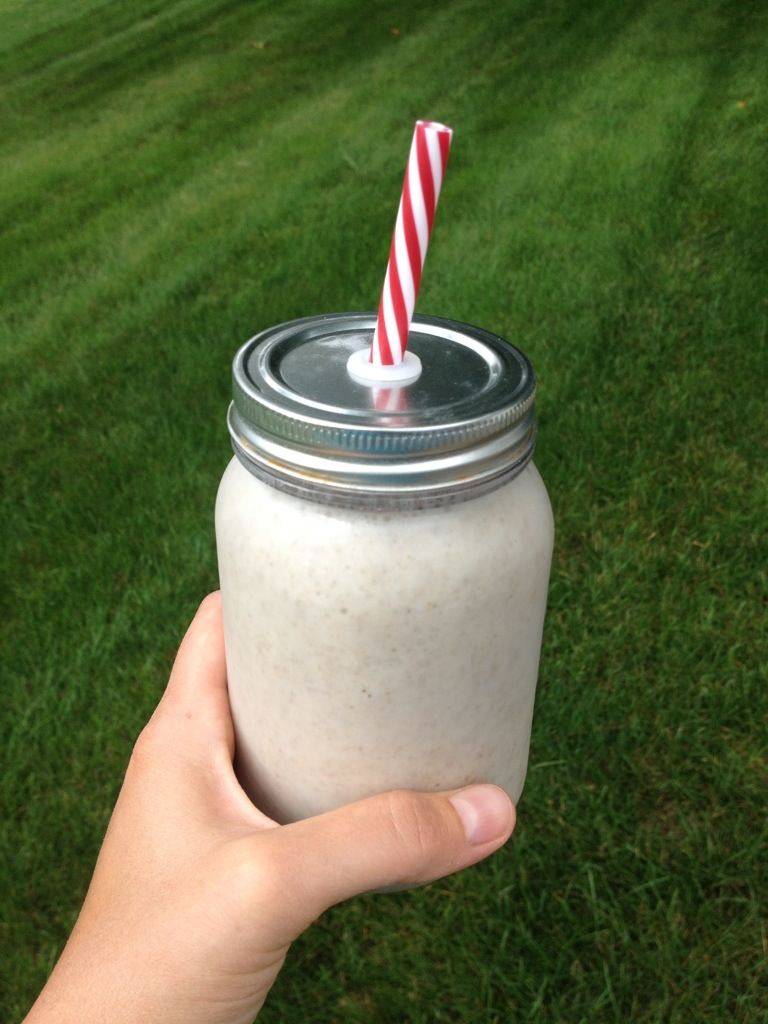
Breakfast was kind of light. My stomach can’t handle a heavy meal before teaching a paddle yoga class. So, before I left this morning, I blended up 3/4 cup light coconut milk, about 1 cup of fresh pineapple, 1 tablespoon of chia seeds and some ice and water. Tasted exactly like a piña colada!!!!
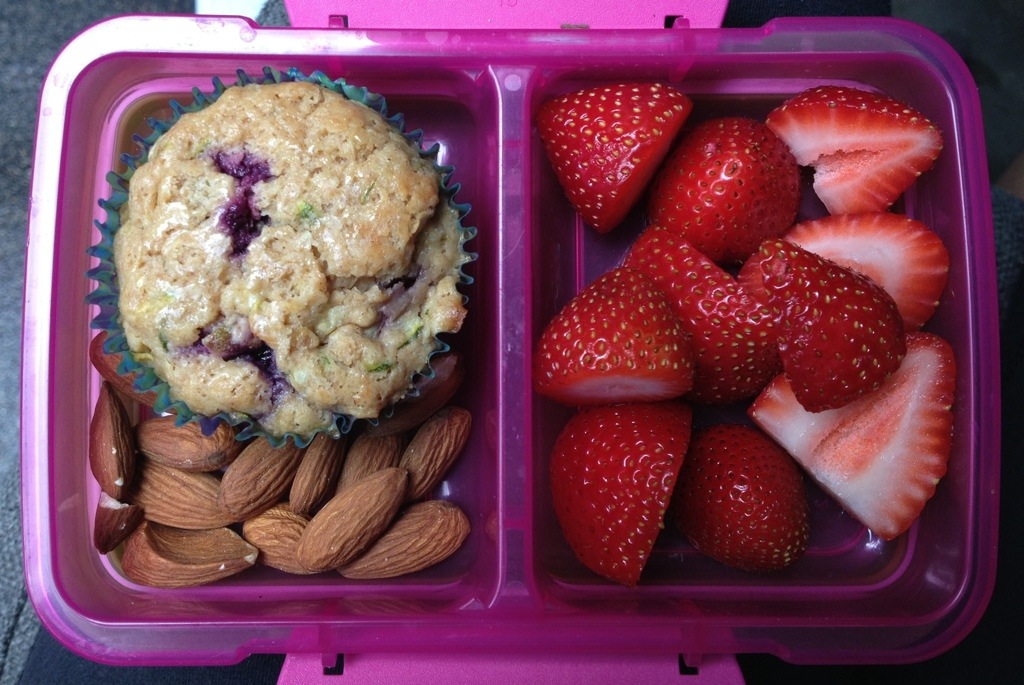
I had to go straight to an appointment after teaching my class, so I packed myself a little snack – a zucchini blueberry spelt muffin, fresh organic strawberries, and a few almonds. The muffins were a combination of recipes and turned out awesome. I plan on making a huge batch of them to freeze for school lunches!!
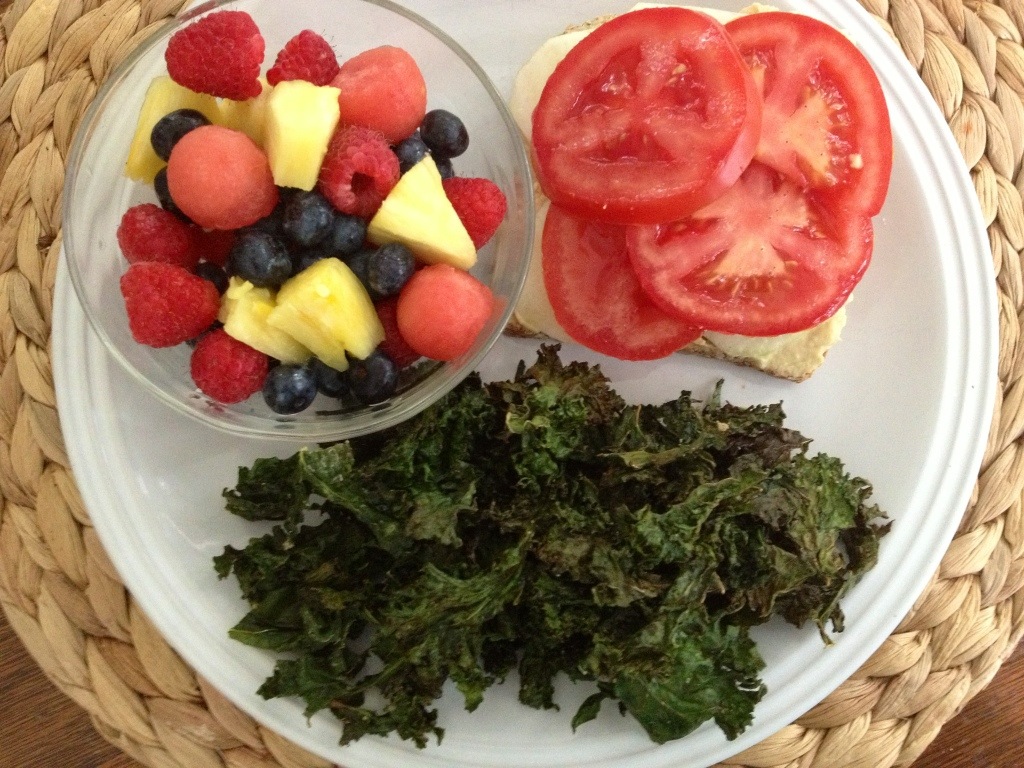
I was starving when I finally got home, so I made an open-faced sandwich on toasted Ezekiel sprouted grain bread with homemade hummus (made last week), cucumbers, and tomatoes with kale chips and fresh fruit. An awesome and filling lunch!!!!
Jake and I snacked on bananas with a little peanut butter this afternoon.
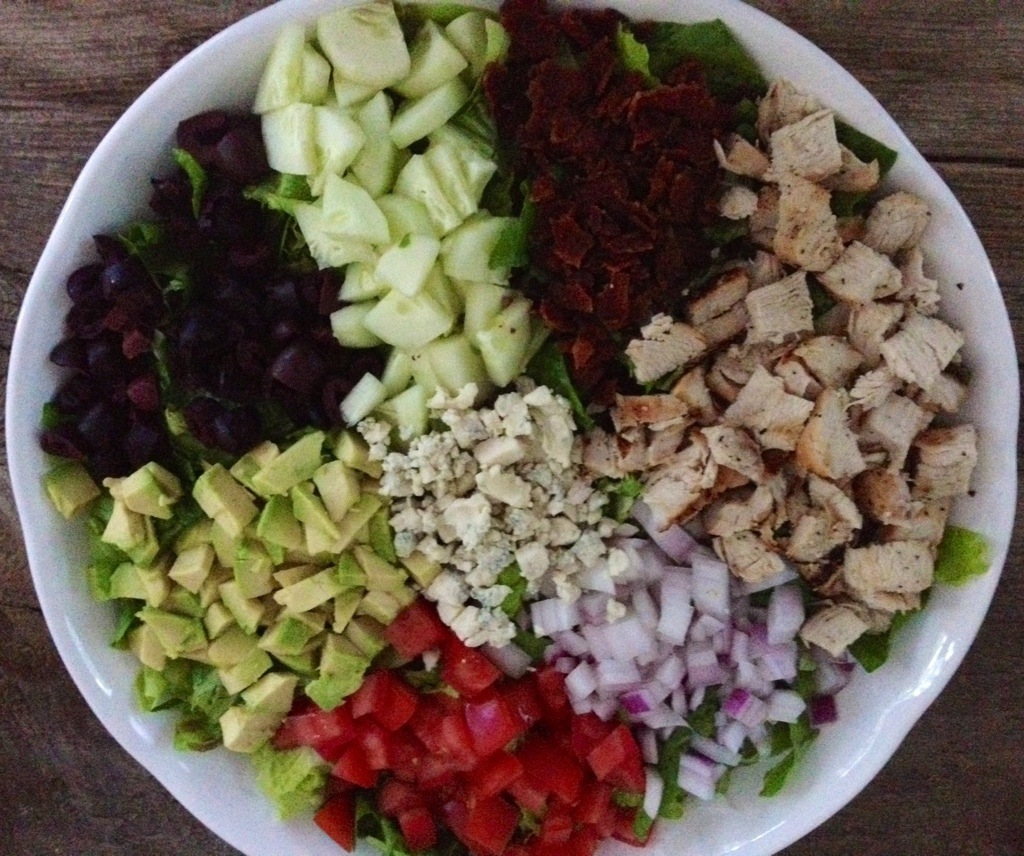
Then we made a huge Cobb Salad for dinner with two kinds of lettuce, grilled chicken, nitrate-free bacon, tomatoes, cucumbers, red onion, kalamata olives, avocado and a little crumbled blue cheese. We topped it off with some homemade balsamic vinaigrette.
The kids made their own little salads too! They had their bacon on the side along with some scrambled eggs 🙂
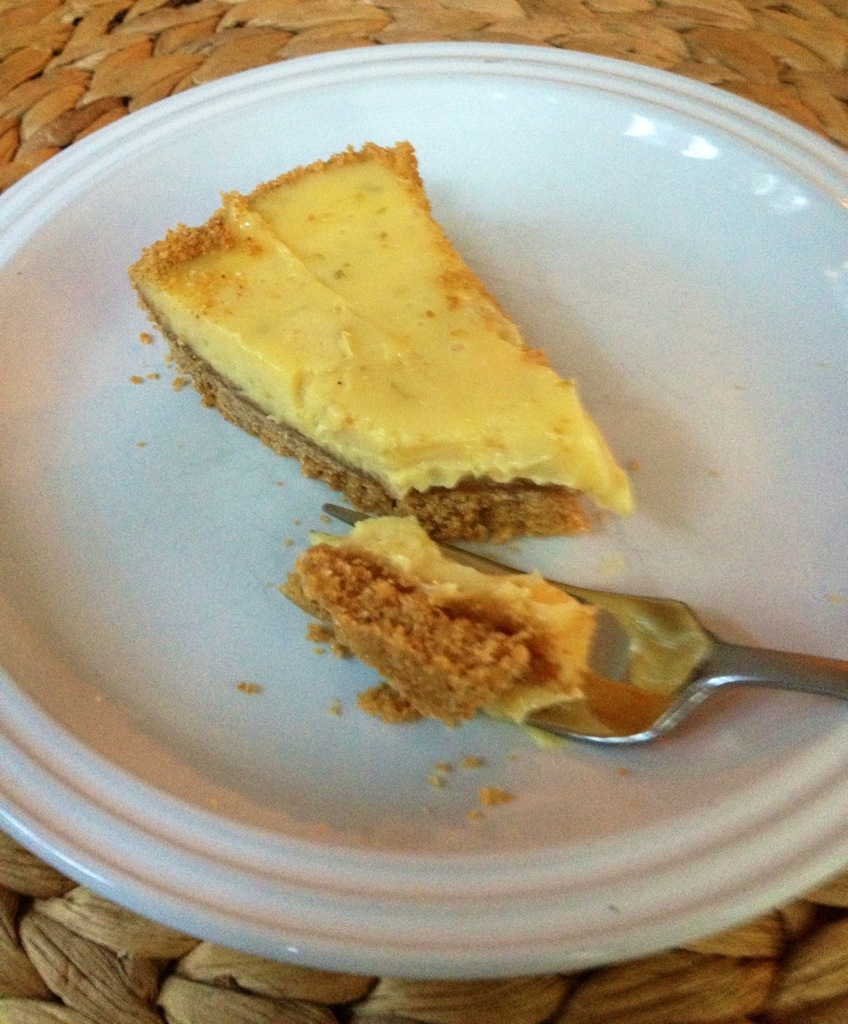
A very rare dessert – this is some of the leftover homemade key lime pie from Darren’s birthday yesterday. If I’m going to squeeze the juice out of 30 teeny tiny little key limes, you better believe that pie isn’t going to waste!!!! SO yummy and so worth it!!!!
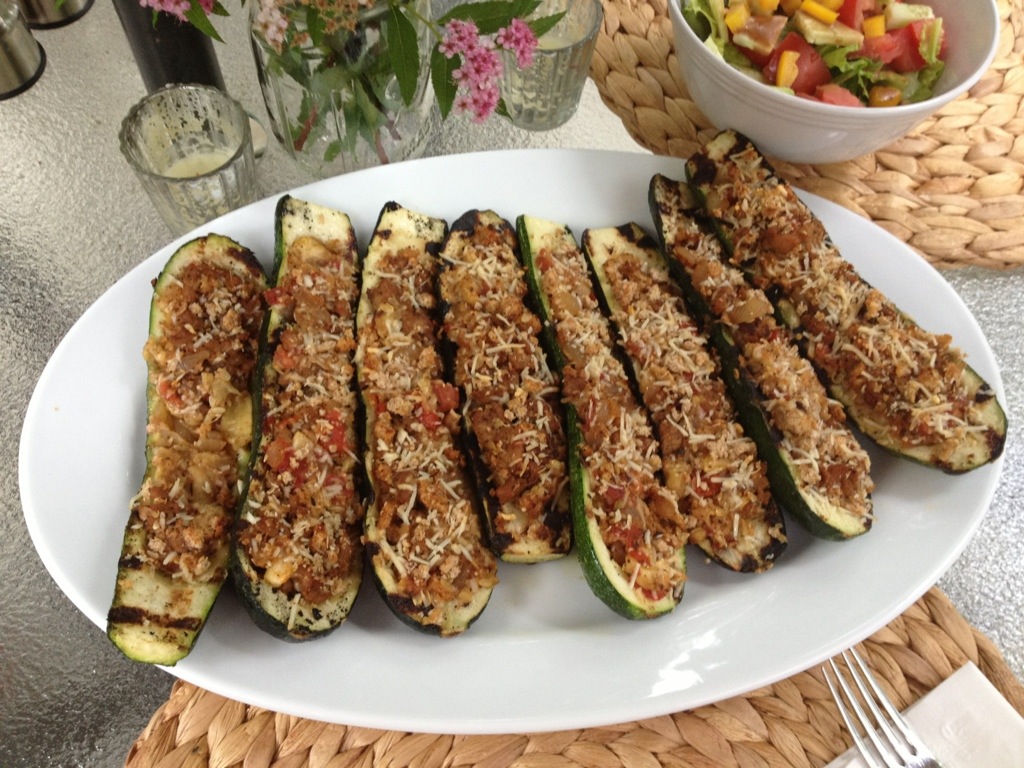
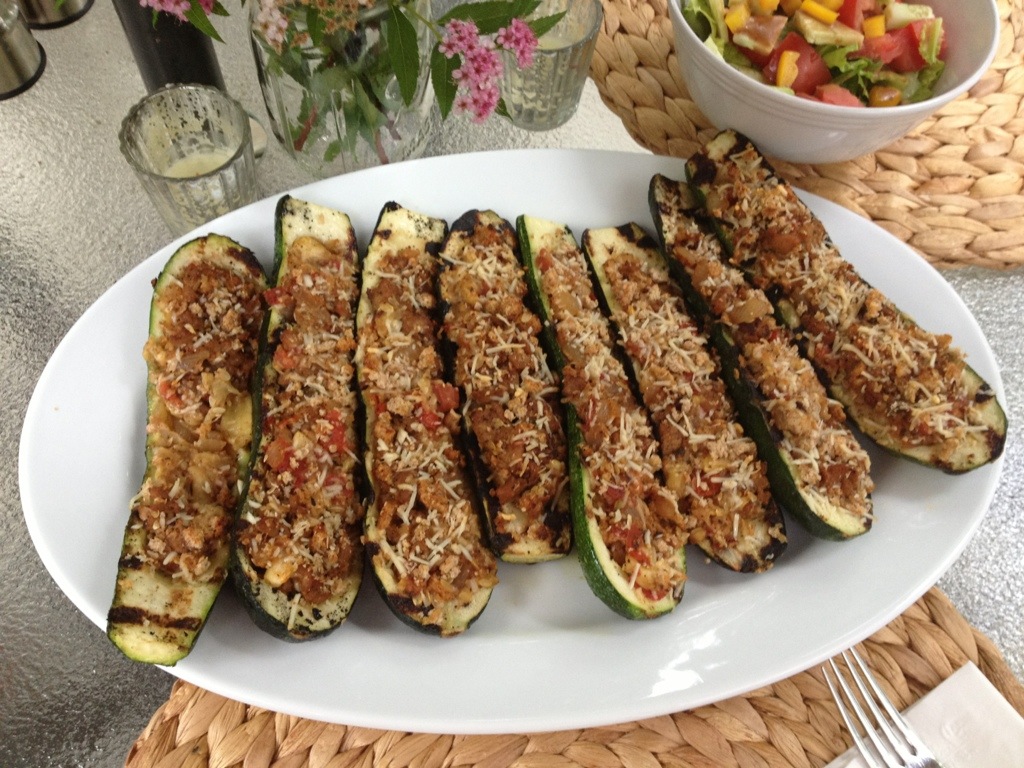
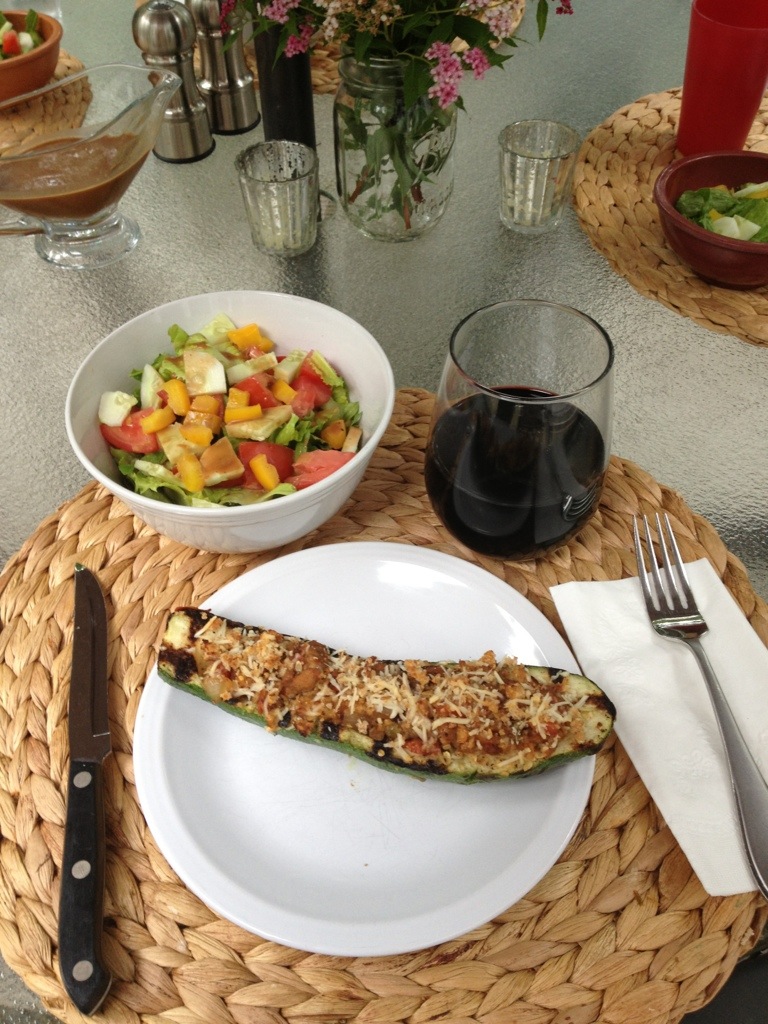
Are you wondering what to do with all of the zucchini that is in season right now?? Try this stuffed zucchini on the grill!!!!
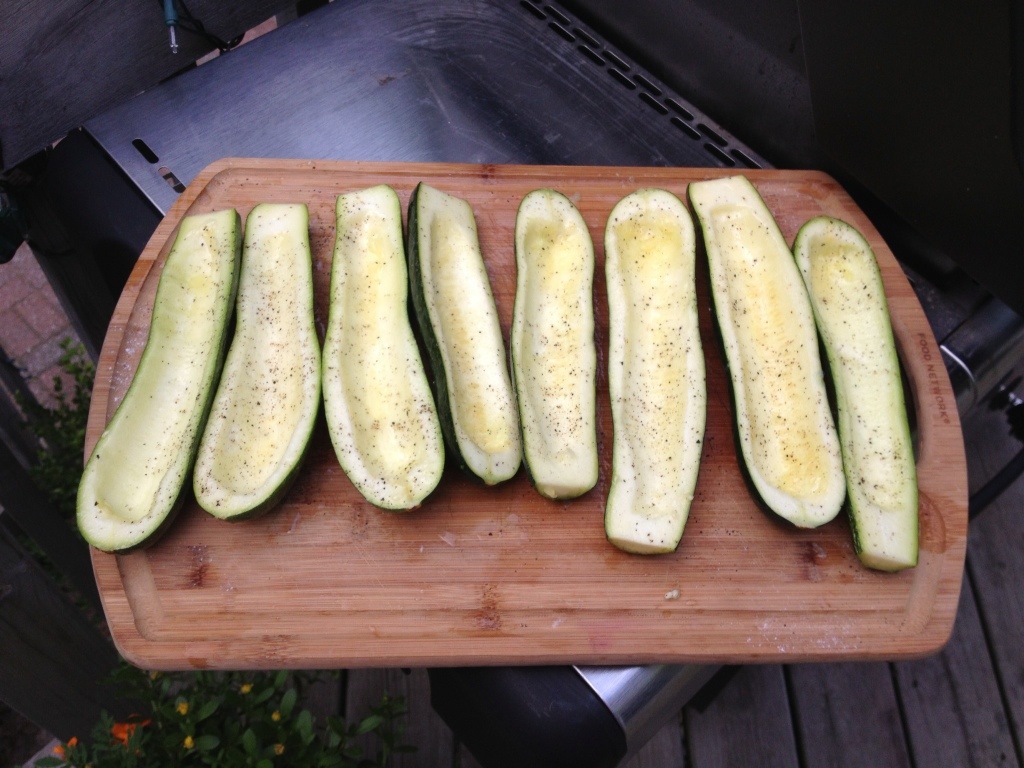
Slice up a few zucchini and hollow them out…..
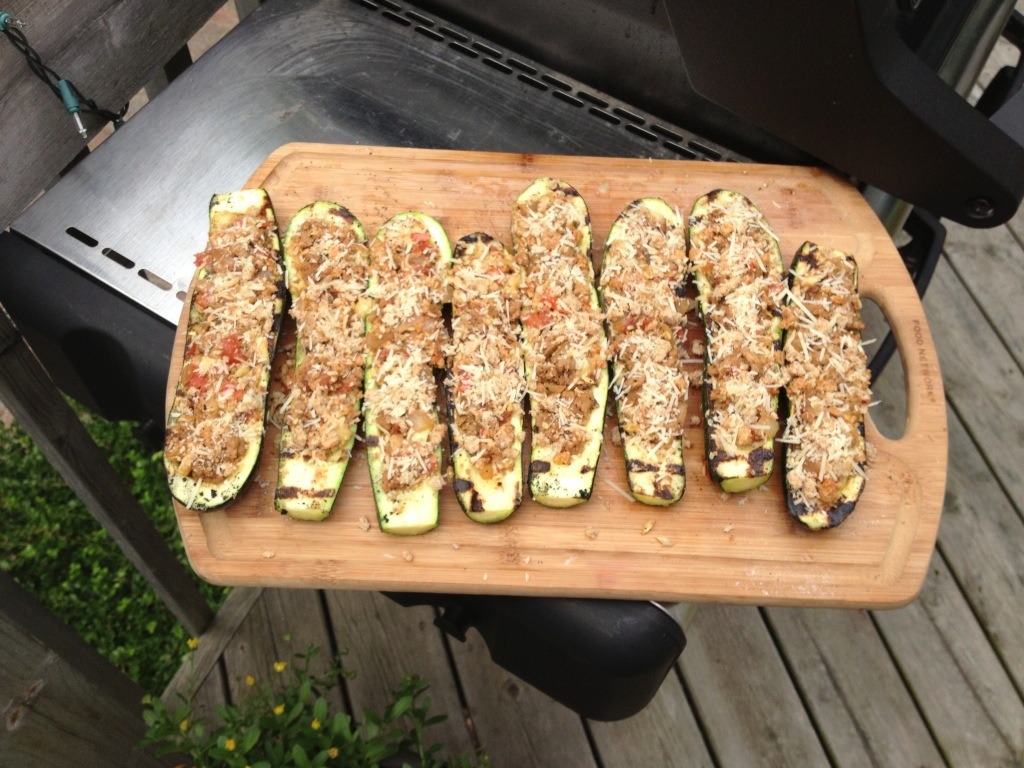
Then, fill them up with a yummy mixture of chicken sausage, garlic, onion, summer ripe tomato, bread crumbs, and Parmesan…
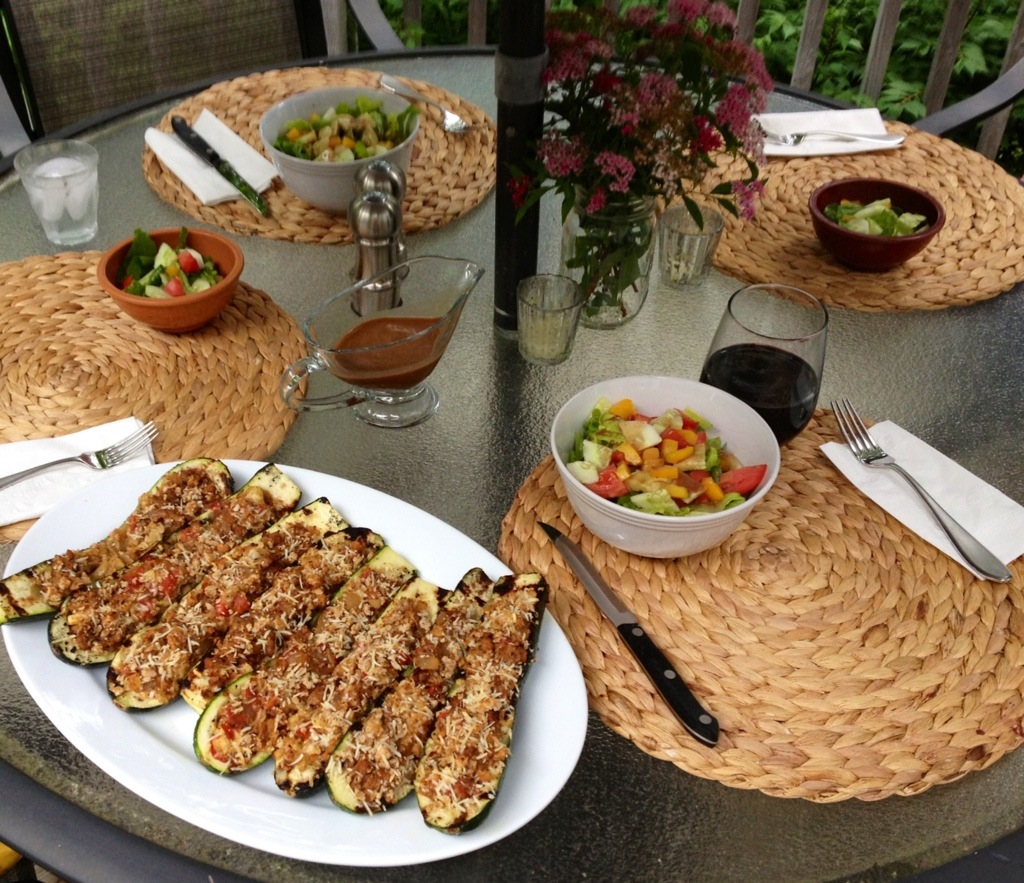
Grill them up and serve alongside a green salad filled with garden veggies and you have a great little summer dinner!
Italian Stuffed Zucchini on the Grill
Ingredients
4 zucchini
3 links all-natural Chicken Sausage, chopped or crumbled*
1/2 onion, diced
2 cloves garlic, minced
1 medium tomato, diced
2 slices Ezekiel sprouted grain bread, toasted and zipped through the food processor to make fresh bread crumbs
1/3 cup Parmesan cheese, divided
Extra virgin olive oil or grass-fed butter
Sea salt & fresh ground pepper
Dried seasonings – basil, oregano, or Italian blend
*I used these Sweet Italian chicken sausages from Al Fresco, but next time I may try these breakfast sausages instead. It is tough to find clean ingredient sausage in the grocery store!
Directions
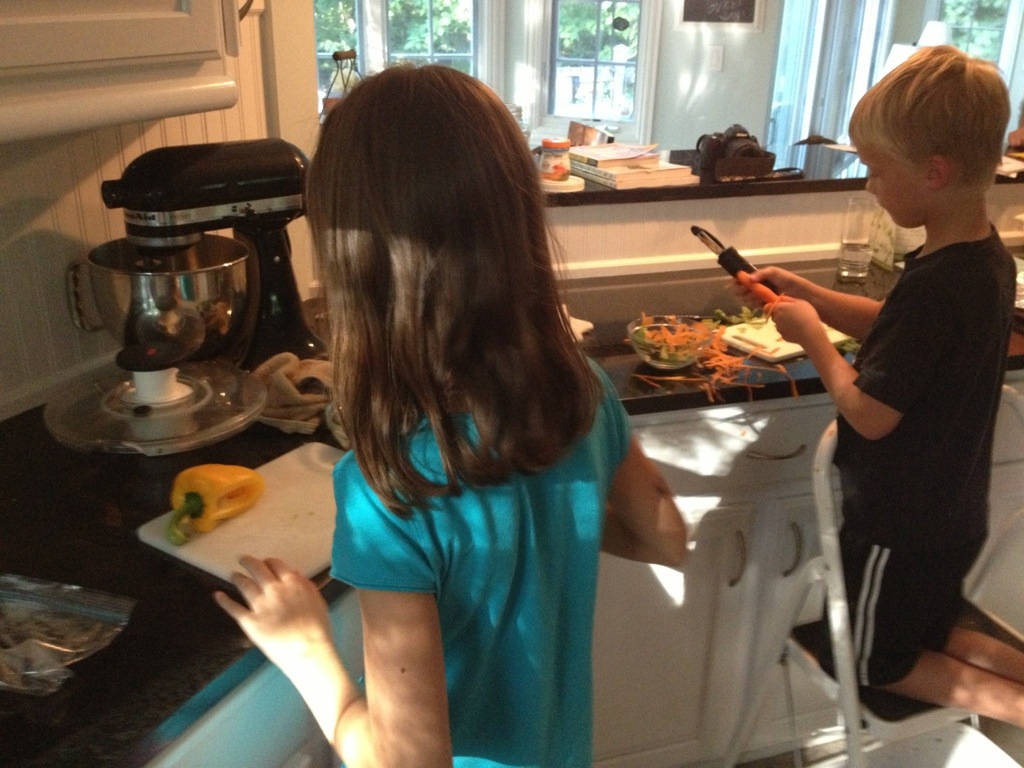
We tag team in order to make this meal! Darren does the grilling while I make the filling!
Preheat grill to medium heat.
Slice zucchini lengthwise and use a spoon to scrape out the seeds, leaving a half-inch thick shell as shown in the photo above. Keep the zucchini insides and chop up to add into the filling mixture!
Brush with olive oil or melted grass-fed butter and season with sea salt and fresh ground pepper.
Place zucchini halves cut-side down and grill for about 5 minutes.
Remove zucchini from grill and set aside.
Heat a large skillet pan to medium heat and cook sausage, chopped zucchini insides, diced onion and garlic.
When sausage and onion is cooked, add diced tomato and season with 1 tsp dried seasonings (Italian blend, oregano, and or basil are all great) and some sea salt and fresh black pepper.
Remove mixture from heat and stir in 1/3 cup bread crumbs (keeping a few tablespoons aside for topping) and 1/4 cup Parmesan cheese.
Divide mixture among pre-grilled zucchini shells.
Mix remaining bread crumbs and a couple tablespoons of Parmesan together to sprinkle on top of stuffed zucchini.
Place stuffed zucchini back on the grill for 7-8 minutes to finish cooking.
We all loved this awesome family summer meal outdoors!!!
Welcome to another What I Ate Wednesday, the one day during the week where I post everything that I ate for the whole day!
Ever since seeing some cute little baby bok choy at the Farmers Market last week, I have been wanting to give them a try. I know the logical thing would be adding them to a stir fry, but this Mango Dream Bok Choy Smoothie on Pinterest had my name all over it!!!
Into the blender went 2 heads of baby bok choy (bulb ends removed), 1 whole mango (peeled and diced), 1/2 of a ripe banana, a few chunks of frozen pineapple, 1 tsp of coconut oil, 1 and 1/2 cups water, and a handful of ice cubes. If you are not using a high powered blender, you’ll want to blend the greens and water first, and then add in the fruit and ice in order to get a nice smooth blended drink. If its not sweet enough for your taste, you can add more banana. There is definitely a bit of an earthy green flavor to this drink, but I LOVED it!!!!
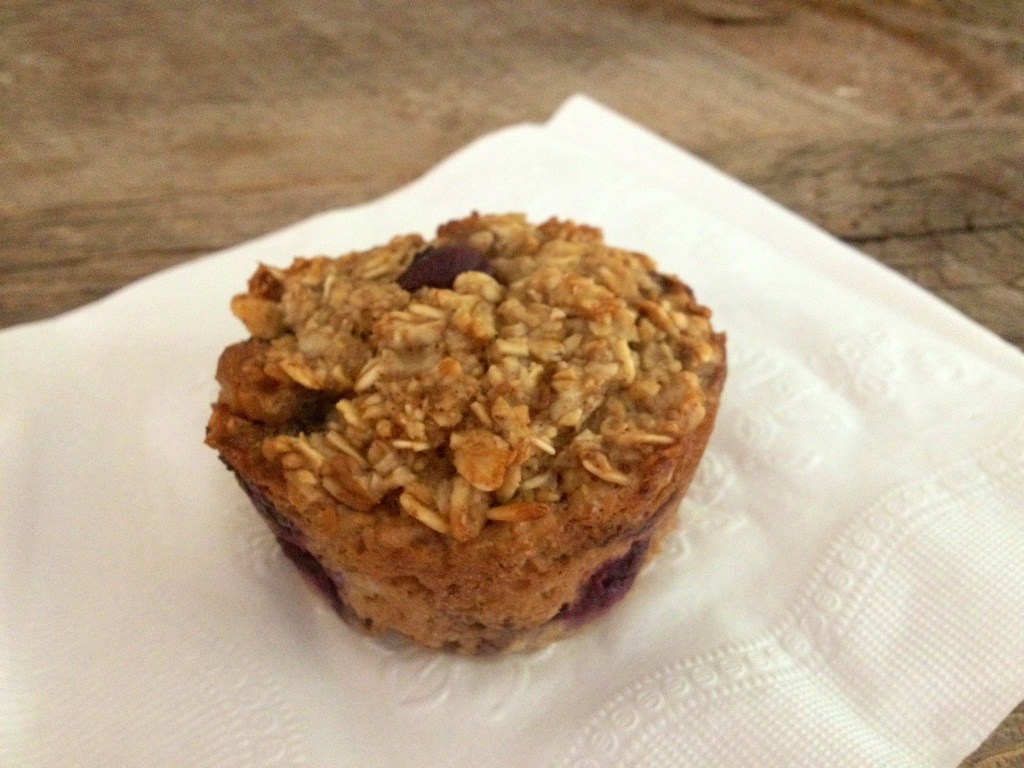
Before heading out for the day, we snacked on these little blueberry baked oatmeal “muffins”. I like them because its like a little bowl of oatmeal you can eat on the go, but unfortunately they didn’t go over too well with the kids….
After a fun day downtown at the Coast Guard Festival, we came home STARVING!
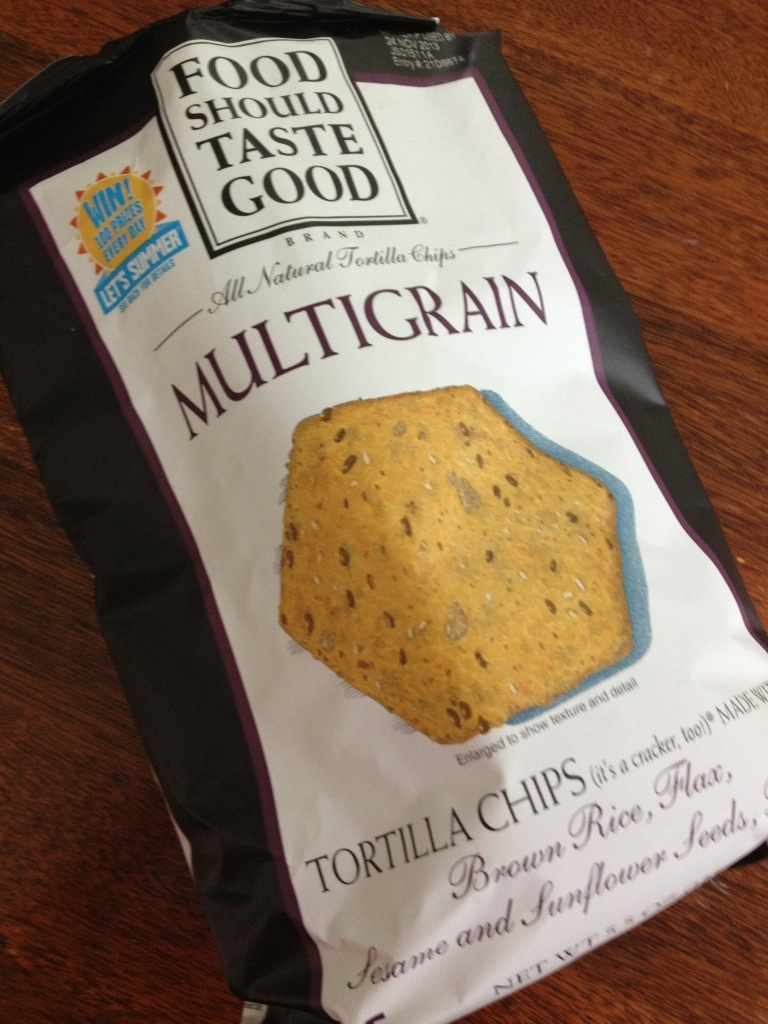
Food Should Taste Good chips to snack on while making lunch…
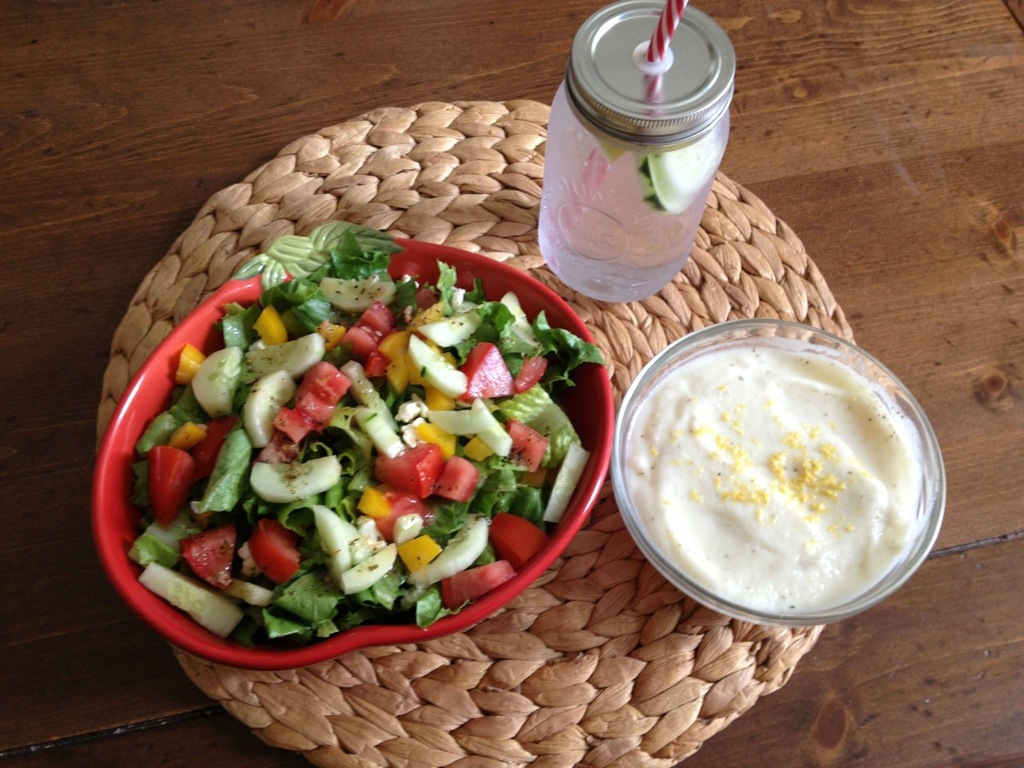
I reheated some of the Lemon Butter Cauliflower Soup from yesterday and also made a Greek salad for lunch. I am so in love with this soup!!!!
For dinner, we made use of the ever-abundant summer zucchini and made these Italian Stuffed Zucchinis on the grill. If you follow me on Instagram, you may have seen a sneak peek. They tasted every bit as good as they looked!! I will post the complete recipe tomorrow!
We served them with a simple salad topped with balsamic vinaigrette. Hailey loved the filling and had a few bites of the zucchini. Jake still has pretty simple taste so he preferred just the grilled sausage and a few bites of the zucchini. Plus they both ate their salad, so overall I consider the dinner a WIN!
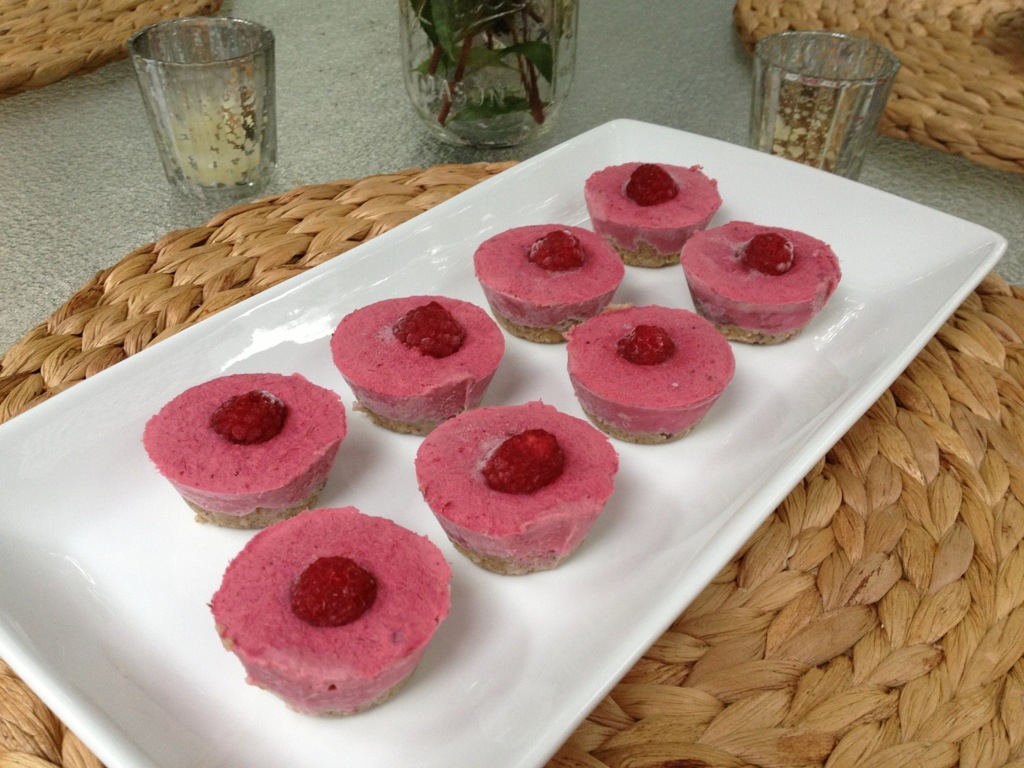
I had made these little frozen yogurt tarts last week and it seemed like the perfect night to enjoy them.
The crust was walnuts, shredded coconut, and a drizzle of honey in the food processor. I needed to do something with the raspberries that got smushed on the way home from the Farmers Market, so I threw them in the blender with some plain Greek yogurt and a little honey, then topped it all off with the few remaining whole berries, and froze them in a mini muffin pan. These need to sit out for 5-10 minutes to thaw a bit before eating them. The kids and I like them, but they definitely have that Greek yogurt taste and texture. I may try making these with the frozen fruit and banana “ice cream” for a little more of a traditional tasting dessert.
What summer meals have you been enjoying lately??


